 Global Finds
  Quick Commerce
  Daily Bazar
  Electronics & Appliances
  Mother, Baby & Toys
  Beauty
  Sports
  Automotive
  Stationery, Books & Music
 _20.png) Fashion Luxe
Fashion Luxe  Fashion
 _20.jpeg) Home
Home  Garden & Pet Care
  Special Weekly Offer
  Grocery
  Global Finds
  Quick Commerce
  Daily Bazar
  Electronics & Appliances
  Mother, Baby & Toys
  Beauty
  Sports
  Automotive
  Stationery, Books & Music
 _20.png) Fashion Luxe
Fashion Luxe  Fashion
 _20.jpeg) Home
Home  Garden & Pet Care
  Special Weekly Offer
  Grocery

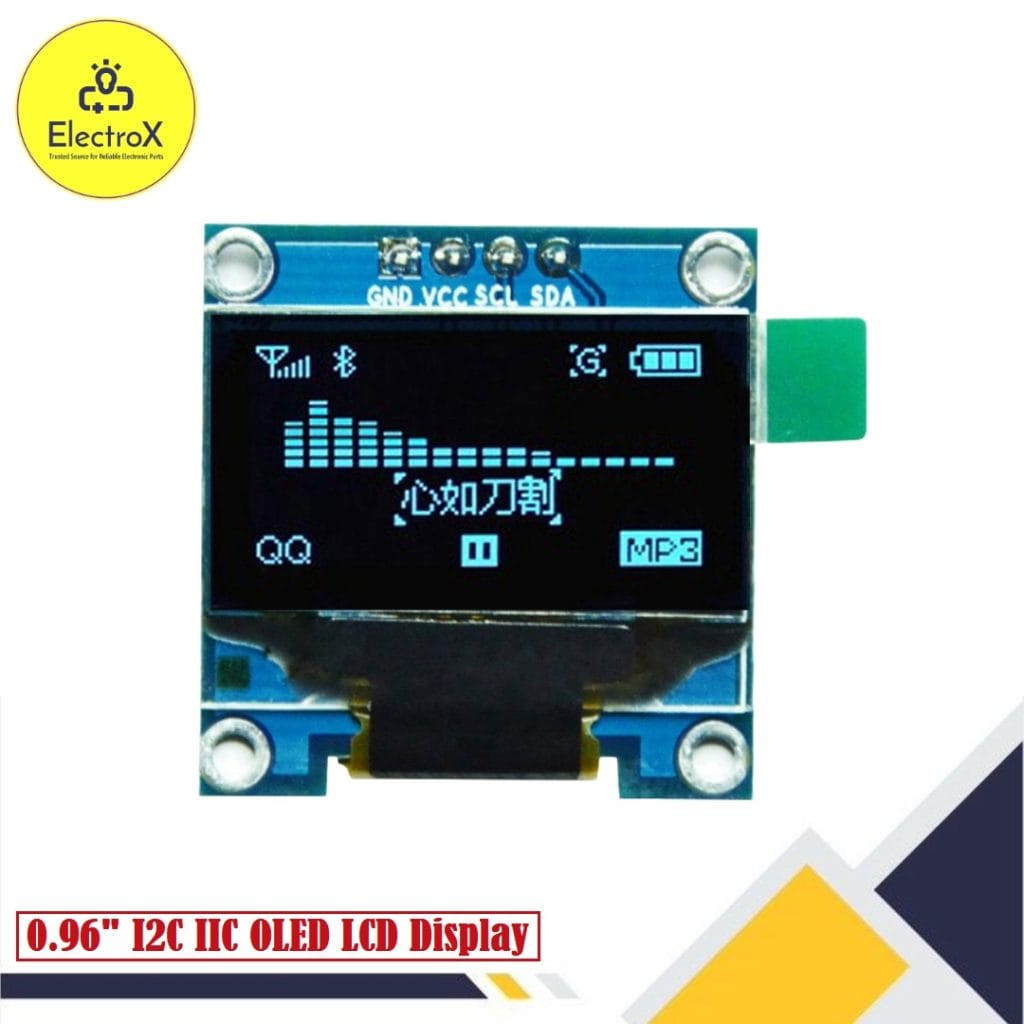
0.96 Inch OLED Display Module I2C IIC 128×64
The 0.96 Inch OLED Display Module I2C IIC 128×64 is widely used for displaying text, graphics, and data in compact electronics projects. When combined with the Arduino UNO R3, it becomes a powerful tool for prototyping and developing IoT and embedded systems.
Key Features of the OLED Display Module
- High Resolution: 128×64 pixels for clear, sharp visuals.
- Compact Size: Perfect for projects with limited space.
- I2C Interface: Simplifies wiring and communication.
- Low Power Consumption: Ideal for battery-powered devices.
- Wide Compatibility: Works seamlessly with Arduino, Raspberry Pi, and other microcontrollers.
Components Required
- Arduino UNO R3
- 0.96 Inch OLED Display Module
- Breadboard
- Jumper wires
Connecting the OLED Display to Arduino UNO
The OLED display uses the I2C protocol, requiring only two data pins: SCL (Serial Clock Line) and SDA (Serial Data Line). Here’s how to connect it:
Installing the Required Libraries
- Open the Arduino IDE.
- Choose Sketch, then Include Library, and finally Manage Libraries.
- Search for Adafruit SSD1306 and Adafruit GFX.
- Install both libraries.
Sample Code for Testing the OLED Display
Here’s a basic example to display “Hello, World!” on the OLED:
#include <Wire.h> #include <Adafruit_GFX.h> #include <Adafruit_SSD1306.h>
// Define OLED display width and height #define SCREEN_WIDTH 128 #define SCREEN_HEIGHT 64
// Create an instance of the display object Adafruit_SSD1306 display(SCREEN_WIDTH, SCREEN_HEIGHT, &Wire, -1);
void setup() { // Initialize the serial monitor Serial.begin(9600);
// Initialize the OLED display if (!display.begin(SSD1306_I2C_ADDRESS, 0x3C)) { // Address 0x3C for most displays Serial.println(F(“SSD1306 allocation failed”)); for (;;); // Stop execution if initialization fails }
display.clearDisplay(); // Clear the display buffer
// Display test message display.setTextSize(1); // Set text size (1 = small, 2 = medium, etc.) display.setTextColor(SSD1306_WHITE); // Set text color to white display.setCursor(0, 10); // Set cursor position (x: 0, y: 10) display.println(“Testing OLED!”); // Print a message display.display(); // Display the buffer on the screen delay(2000);
// Draw basic shapes for testing display.clearDisplay(); display.drawRect(10, 10, 50, 30, SSD1306_WHITE); // Draw rectangle display.drawCircle(64, 32, 15, SSD1306_WHITE); // Draw circle display.display(); delay(2000);
// Display a scrolling text demo display.clearDisplay(); display.setCursor(0, 0); display.println(“Scrolling Text Demo”); display.display(); delay(1000);
display.startscrollleft(0x00, 0x0F); // Start horizontal scrolling delay(5000); // Scroll for 5 seconds display.stopscroll(); // Stop scrolling }
void loop() { // Add your main code here }
Applications
- IoT Projects: Display sensor data like temperature, humidity, or light levels.
- Wearables: Perfect for creating small and lightweight screens.
- DIY Projects: Useful for making clocks, counters, or gaming interfaces.
Advantages of Using OLED Displays
- Energy Efficiency: Consumes less power than traditional LCDs.
- Wide Viewing Angle: Excellent visibility from different angles.
- No Backlight Needed: OLEDs emit their own light, ensuring vibrant visuals.

Login to ask a question
