
 Global Finds
  Quick Commerce
  Daily Bazar
  Electronics
  Mother, Baby & Toys
  Beauty
  Sports
  Automotive
  Stationery, Books & Music
  Computer Table
  Mouse Pad
  Computer Table
 _20.png) Fashion Luxe
Fashion Luxe  Jersey
  Sports Shoes
  Fashion
 _20.jpeg) Home
Home  Garden & Pet Care
  Special Weekly Offer
  Grocery
  Global Finds
  Quick Commerce
  Daily Bazar
  Electronics
  Mother, Baby & Toys
  Beauty
  Sports
  Automotive
  Stationery, Books & Music
  Computer Table
  Mouse Pad
  Computer Table
 _20.png) Fashion Luxe
Fashion Luxe  Jersey
  Sports Shoes
  Fashion
 _20.jpeg) Home
Home  Garden & Pet Care
  Special Weekly Offer
  Grocery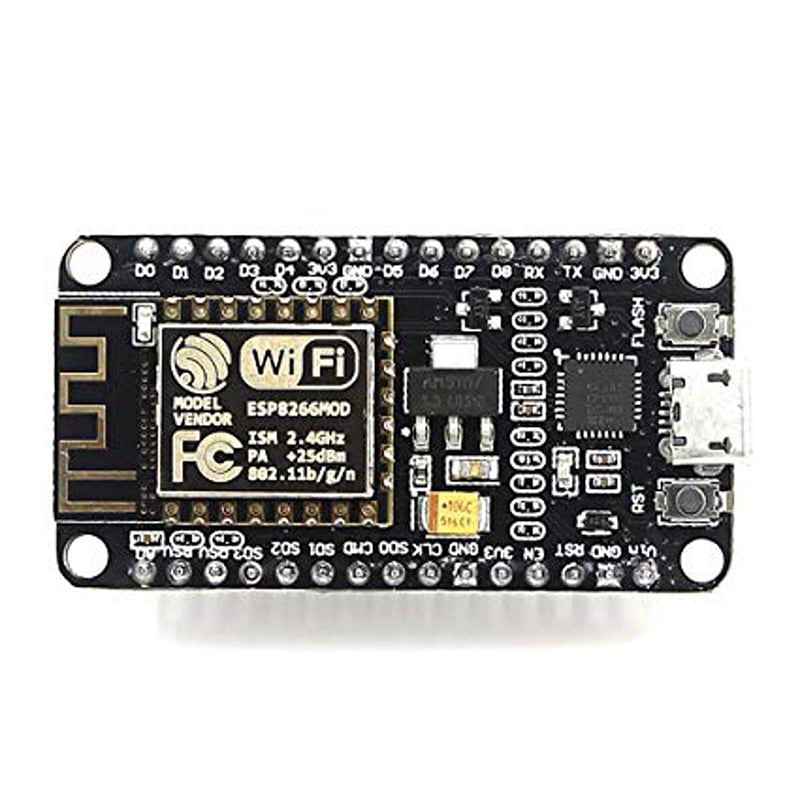
HOW TO GET STARTED WITH NodeMcu ESP8266
NodeMcu ESP8266 requires 3.3V power supply that can be obtained from some phone battery charger which you plug into it either into a power jack or connect it to your computer through a USB port.

The I/O pins of ESP8266 communicate or input/output max 3.3V only. i.e. the pins are NOT 5V tolerant inputs. Please don’t supply it with 5V from arduino or anypower source.The pin mapping of NodeMCU are different from those of ESP8266 GPIOs . Remember you will only need Arduino IDE installed on a computer to start using this module.

Arduino IDE doesn’t come with the necessary libraries and drivers so that you can use the NodeMcu ESP8266 module. hence we need to download and install libraries in Arduino IDE so that we can have fun with our NodeMcu module. Then at this level you need to open your arduino IDE and perform the following task to get the required libraries and drivers:
- go tofiles -> Preferencesor CTRL+,

- copy and paste the following link http://arduino.esp8266.com/stable/package_esp8266com_index.json into the blackbox next to Additional Board manager

- click OK
- close ans restart your arduino
- go totools -> board managerand search for ESP8266 and install the libraries/files


- close and restart after
selext NodeMCU board by going:Tools -> Boards(scroll down the list of boards) ->NodeMcu 1.0(ESP-12E Module)
select also the right Port number for the module. The rest of settings can be left to default values

- as we finished installing libraries into Arduino IDE. We must also install drivers for our board to function properly, here is the links : forCP210xandCH340G
let’s start using our board by:
Blinking the LED by NodeMcu ESP8266


Login to ask a question
